




















 INJECTORS




 TURBOS
 FUEL PUMPS
 ACTUATORS
 EGR Coolers
 Contamination Kits
 Accessories Kits
Why Do Injectors Leak Externally? Find the Cause

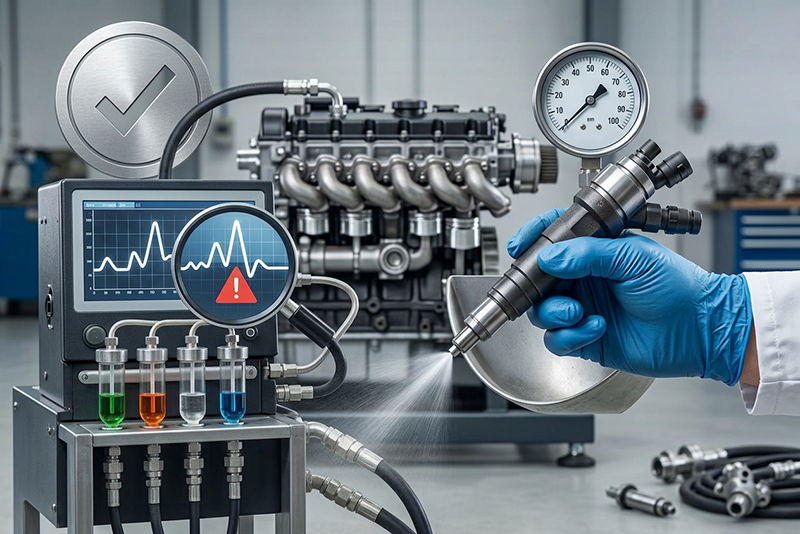
A wet injector is not a problem to ignore until the next service interval. Diesel fuel around the injector can damage wiring, attract dirt, create a fire risk, and turn a minor sealing issue into an expensive repair. So, why do injectors leak externally? The answer depends on exactly where the fuel or soot is escaping. A leak at the return fitting needs a different repair than a leak at the injector seat, injector body, or high-pressure fuel connection.
On modern common-rail diesel engines, fuel systems operate at extreme pressure. Never run your hand over a suspected high-pressure leak or loosen a fuel line with the engine running. High-pressure fuel can penetrate skin and requires immediate emergency medical attention. Shut the engine down, let pressure dissipate according to the service procedure, and diagnose the system carefully.
Why Do Injectors Leak Externally?
External injector leaks generally fall into two categories: fuel leaks and combustion leaks. Fuel leaks leave the injector, line, fitting, or seal wet with diesel. Combustion leaks may look dry at first, but they leave black carbon deposits around the injector base and often create a chuffing or ticking sound under load.
The leak location tells the story. Fuel around the top of the injector often points to a return line, connector seal, or injector body problem. Fuel at the high-pressure line connection can indicate a damaged line seat, incorrect line installation, or a fitting that was not torqued correctly. Wetness or black buildup at the injector base usually points to a failed copper sealing washer, damaged injector bore, or inadequate hold-down force.
Do not assume every wet injector is defective. Fuel can travel along a line, wiring harness, or valve cover surface before pooling around an injector. Clean the area completely before deciding which part has failed.
Common Causes of External Diesel Injector Leaks
Failed injector sealing washer
Many diesel injectors seal against the cylinder head with a copper washer. This washer is a one-time-use part on most applications. It must crush evenly to contain cylinder pressure and prevent combustion gases from escaping past the injector.
A reused washer, incorrect washer thickness, carbon left in the injector seat, or an injector that is not fully seated can all cause leakage. A loose or stretched hold-down bolt can produce the same result. The telltale sign is black, crusty carbon around the injector base, sometimes called blow-by. Left alone, that carbon can harden inside the bore and make future injector removal far more difficult.
Damaged O-rings and return-line seals
Return fuel systems use plastic fittings, hoses, O-rings, and quick-connect seals that become brittle with age and heat cycles. A small split in a return connector can leak only when the engine is running, which makes it easy to miss during a cold visual inspection.
O-rings can also fail after improper installation. Rolling, cutting, pinching, or installing a dry seal can create a leak immediately after injector replacement. Use the specified clean fuel or approved lubricant when the service procedure calls for it, and confirm that every seal is seated squarely.
Cracked injector body or damaged inlet connection
An injector can leak through the body itself. Corrosion, overtightened fittings, impact damage, manufacturing defects, or internal stress can create a crack near the inlet, return port, or solenoid area. In some cases, the crack is so fine that it only opens when the injector reaches operating temperature or rail pressure.
A damaged injector body is not a reseal-and-go repair. The injector needs replacement with a properly tested unit matched to the engine application. On electronically controlled engines, that can also mean entering the correct trim code or calibration information after installation.
High-pressure line and fitting problems
The steel high-pressure line must seal perfectly at the injector and rail. Dirt on the sealing surface, a line installed under side load, cross-threading, or improper torque can allow fuel to escape. Reusing a line that has been bent, damaged, or previously overtightened can create repeat leaks.
Some engines specify new high-pressure lines whenever injectors are replaced. Others allow reuse only if the line passes inspection and is installed according to the manufacturer procedure. It depends on the engine platform, but forcing a line into alignment is never acceptable. If the line does not sit naturally at both connection points, find out why before tightening it.
Incorrect installation or missing hardware
Injector leaks frequently appear right after repair work because an installation detail was missed. The injector bore may not have been cleaned, the old sealing washer may still be stuck in the cylinder head, the hold-down clamp may be installed backward, or the fastener may have been torqued incorrectly.
Missing brackets and line clamps matter, too. Vibration can fatigue a high-pressure line or work a return fitting loose over time. On commercial engines that see heavy vibration, long idle periods, and high operating hours, correct hardware installation is part of the repair, not an optional finishing step.
Contaminated fuel and system corrosion
Water, debris, and poor fuel filtration can contribute to injector corrosion and seal damage. Contamination may not directly cause an external leak on day one, but it can damage injector surfaces, clog return passages, and accelerate wear in the fuel system.
If an injector has failed from contamination, replacing only the leaking injector may not protect the repair. Inspect the fuel filter, fuel tank condition, supply lines, rail, and pump as appropriate for the engine. Metal debris from a failing high-pressure pump requires a much broader repair plan than a simple injector swap.
How to Locate the Leak Before Ordering Parts
Start with a cold engine and clean the entire injector area using an appropriate cleaner. Remove pooled fuel and carbon so fresh leakage is visible. Inspect the injector base, high-pressure line nuts, return fittings, injector body, nearby hoses, and valve cover gasket area.
Then run the engine only as needed for observation, keeping hands and clothing clear of high-pressure connections. A bright inspection light and small mirror can help identify whether fuel begins at the return port, line nut, or injector body. For suspected combustion leakage, listen for a sharp chuffing sound and watch for fresh black soot around the injector seat.
If the source is still unclear, use the engine manufacturer’s diagnostic procedures. Rail-pressure faults, excessive return flow, hard starts, misfires, smoke, and fuel dilution can provide context, but they do not automatically prove the external leak source. A cylinder contribution test or return-flow test may identify an injector with internal wear, while the visual inspection identifies the external sealing failure.
Repair the Cause, Not Just the Wet Spot
The correct repair is based on the failure point. A leaking return fitting may need a connector, hose, and new seals. A combustion leak at the base may require injector removal, bore cleaning, a new correct-spec sealing washer, new hold-down hardware where specified, and accurate torque procedures. A cracked injector or damaged high-pressure fitting calls for component replacement.
Before installing a replacement injector, inspect the bore closely. Remove carbon without gouging the seat or dropping debris into the cylinder. Verify that the old washer is not left behind. Use the application-specific installation kit, torque sequence, and torque-angle procedure. On engines requiring injector coding, program the injector correctly before releasing the truck.
A remanufactured injector can be a cost-effective repair, but only when it has been properly rebuilt, tested, and calibrated for the application. The lowest-priced injector is not a bargain if it causes repeat downtime, poor performance, or another teardown. Match the part number, engine serial range, emissions configuration, and fuel system requirements before ordering.
Preventing Repeat Injector Leaks
Preventive work begins with clean fuel and disciplined installation. Replace fuel filters on schedule, drain water separators, and investigate recurring water contamination instead of treating filters as the whole fix. Keep injector bores, line seats, and fittings clean during service. Even a small piece of debris can prevent a precision fuel connection from sealing.
Use new sealing washers and O-rings when required, replace damaged line clamps, and do not substitute generic hardware for critical injector hold-down components. After repair, inspect the engine at idle and after a road test for fresh fuel, soot, odor, or abnormal noise. A dry injector area is the standard.
When the source points to a failed injector, American Diesel Parts can help you get the correct tested replacement and supporting installation components for the job. Fix the actual leak path now, and your truck is far less likely to return with the same problem, more carbon buildup, and more lost work time.